Iron Man

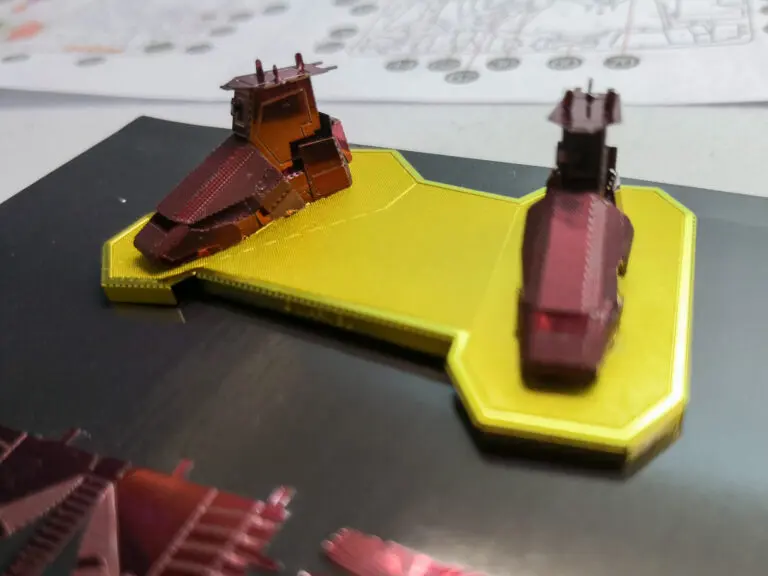
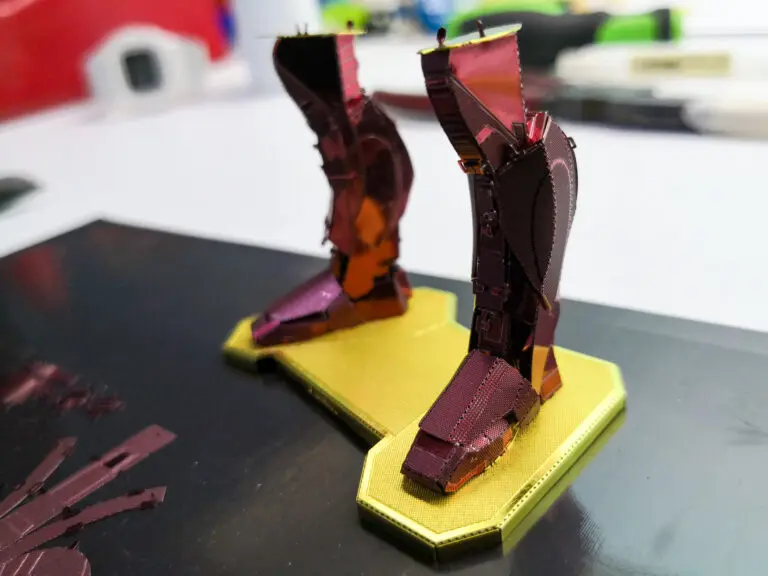
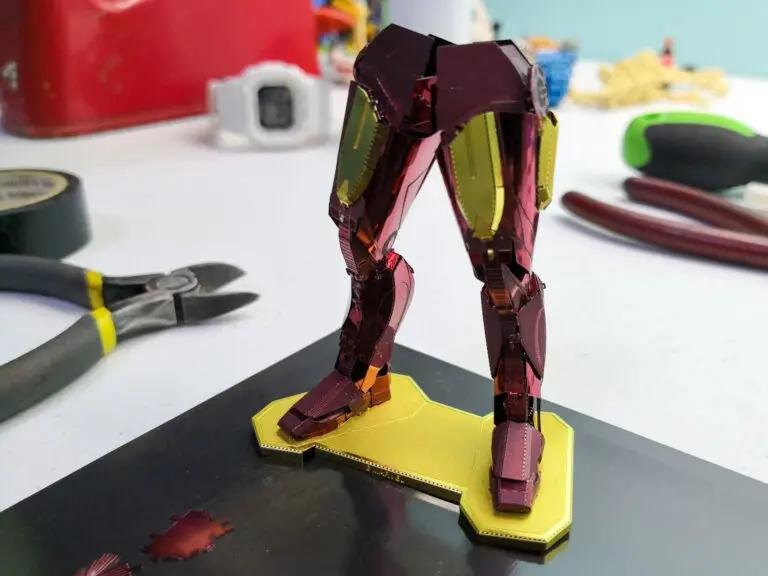
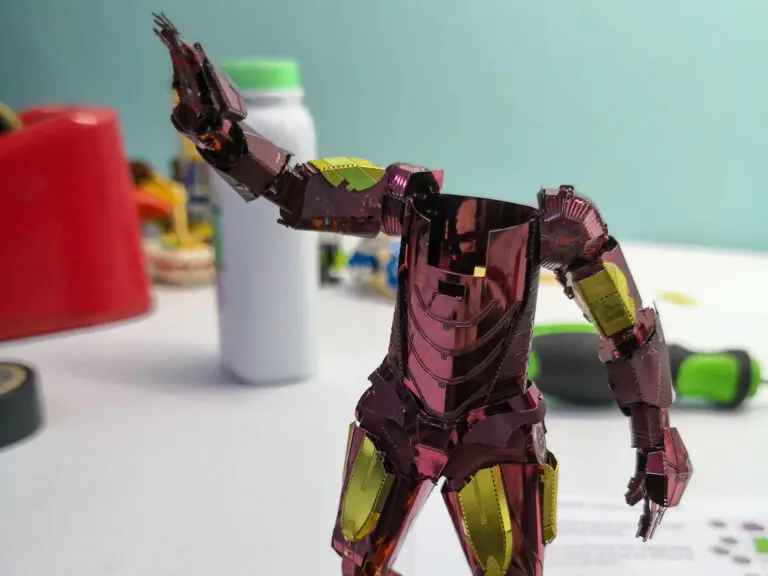
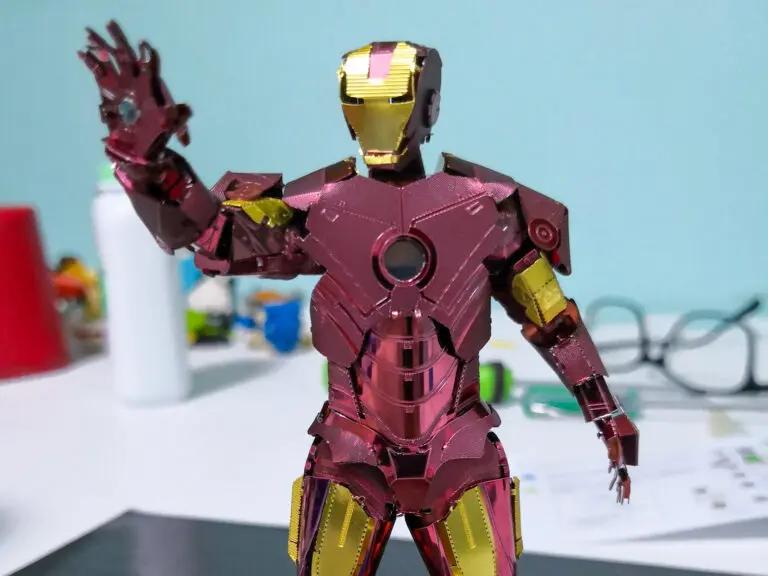
After piecing together my first two Metal Earth models, I decided to challenge myself by jumping straight to what their website tagged “extremely difficult.” I finished this Iron Man model in about two days. It sat proudly on my desk for a while, but it inevitably started collecting dust.
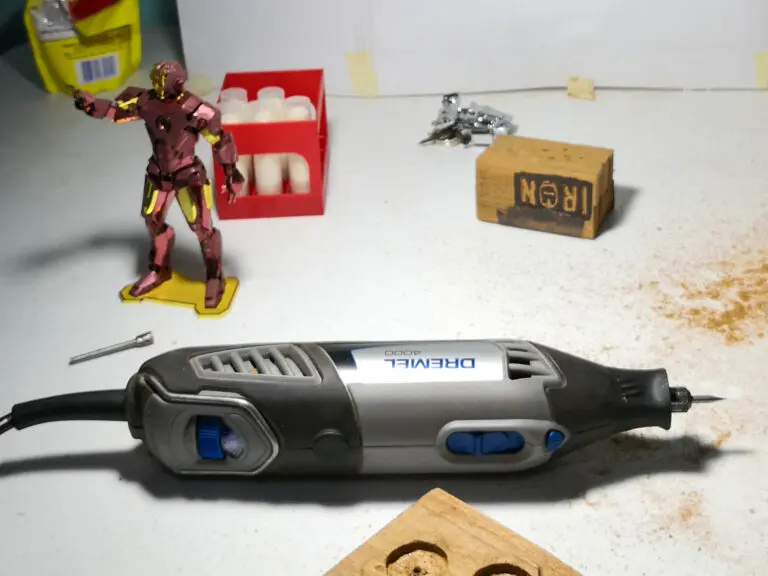
Frustrated, I decided to build a display case from scratch six months later. Armed with my only power tool, a Dremel 4000 4-65 kit, I embarked on my first woodworking project.
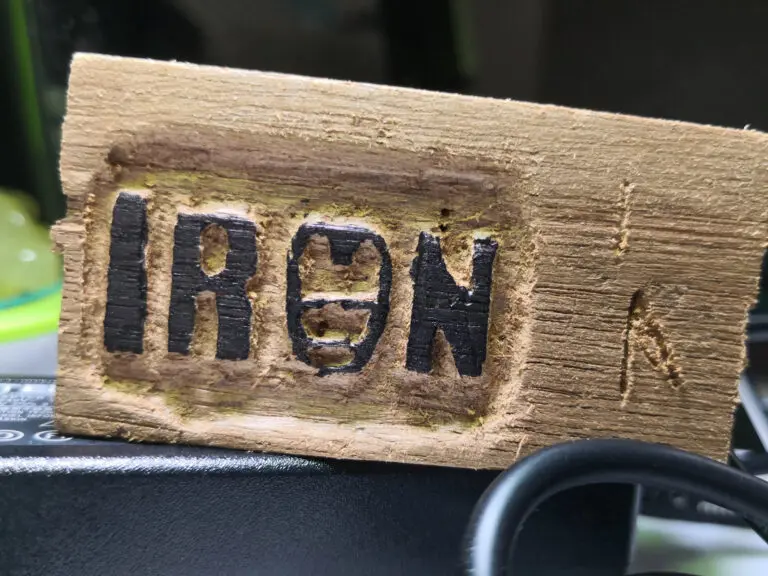
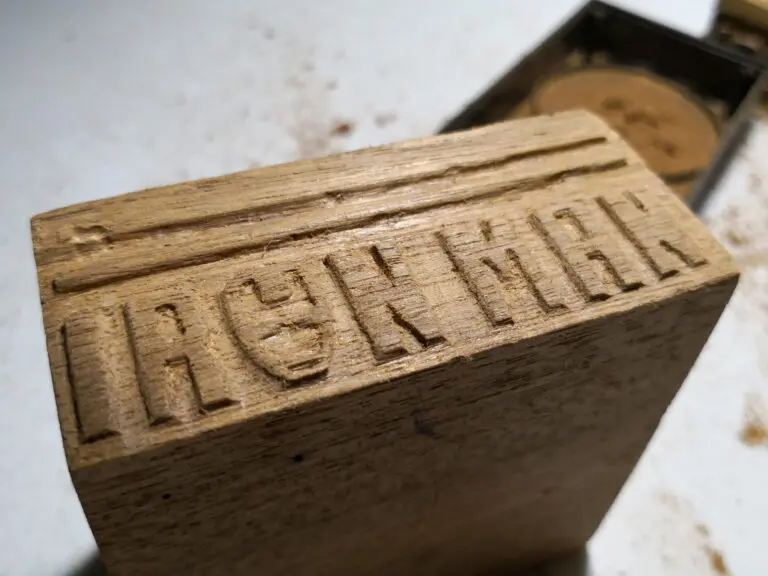
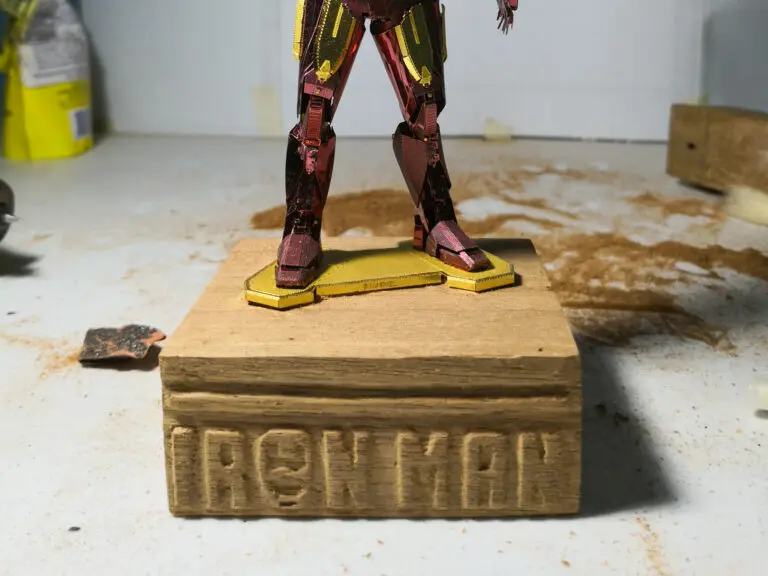
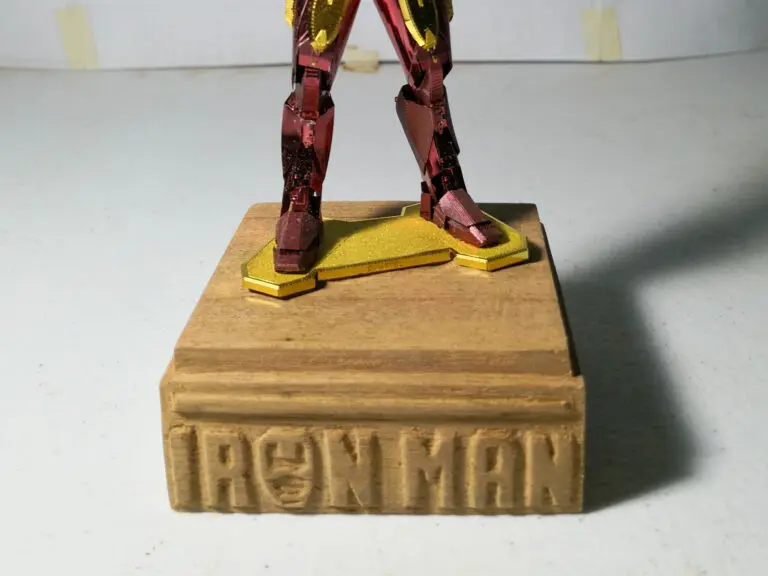
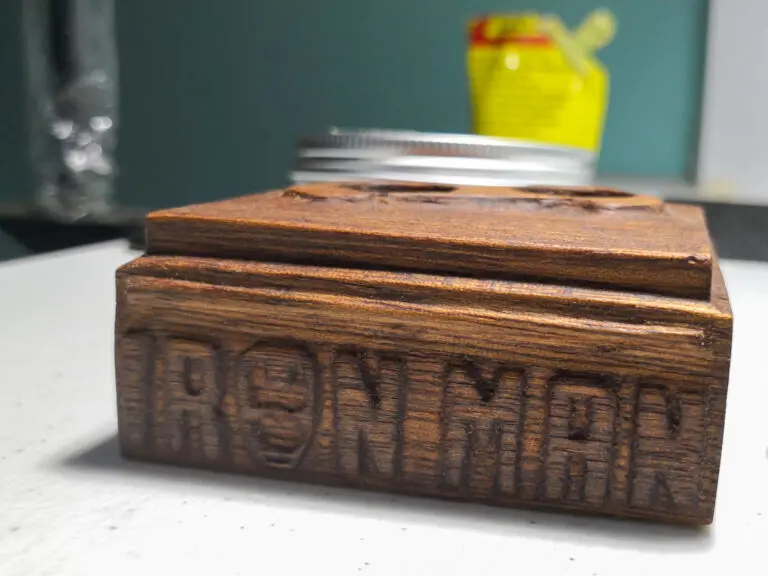
The result was an oil-finished, wax-coated wood base with the word Iron Man and his Marvel logo embossed, paired with five panels of clear acrylic, held together by two latch fasteners.
Metal Earth model
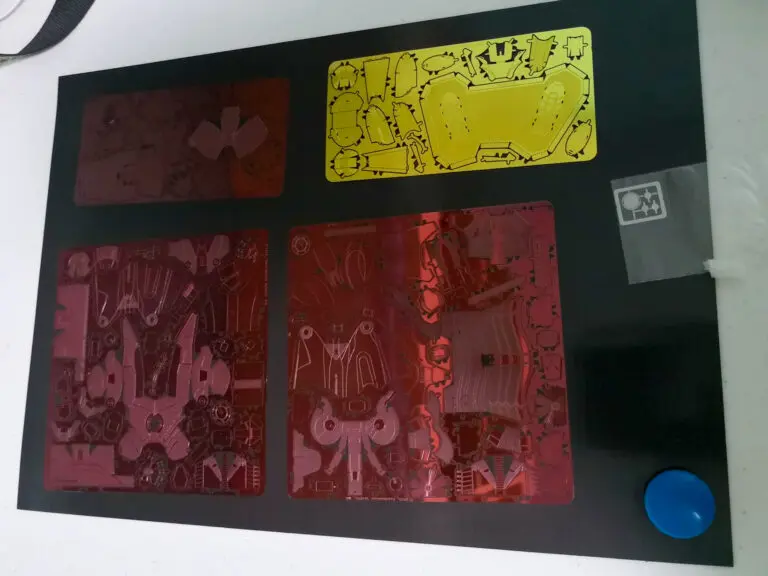
The kit consisted of two and a half red plates, half a gold plate, and a tiny silver plate. I cut all the pieces out but kept them in their relative positions with a magnetic sheet, a trick that helped me find pieces quickly. I followed the provided instructions, building from bottom up.
Base block
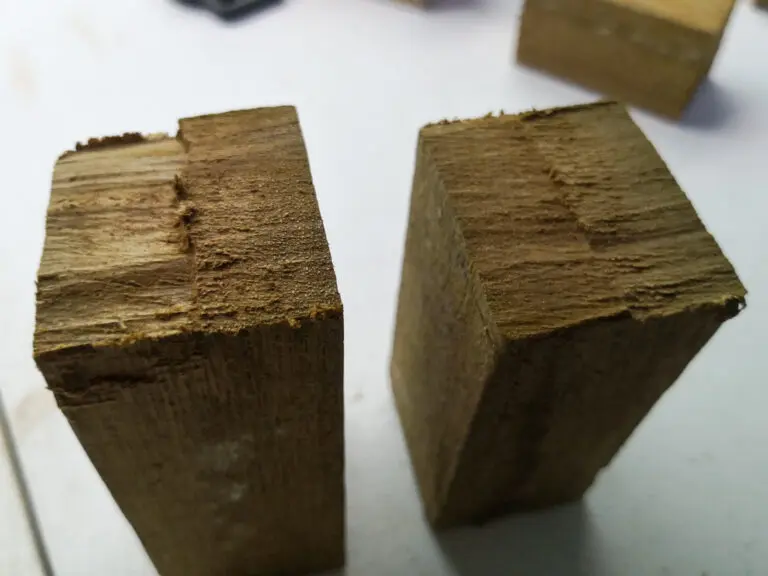
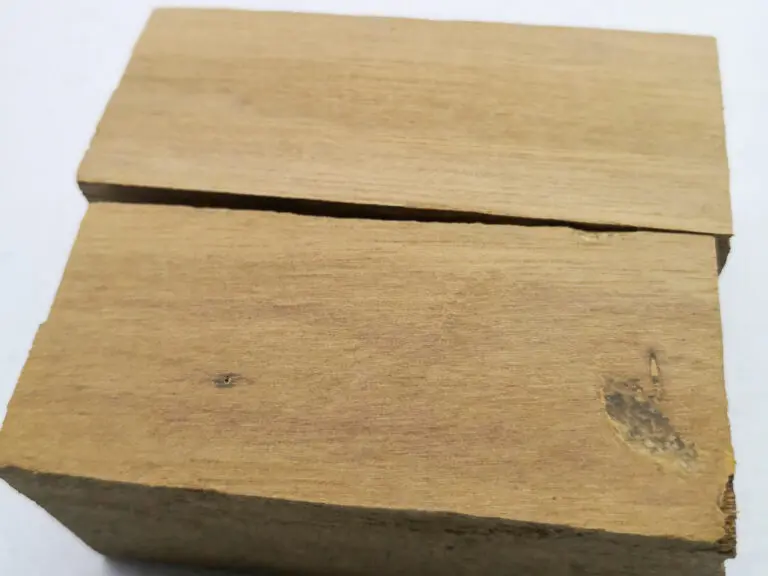
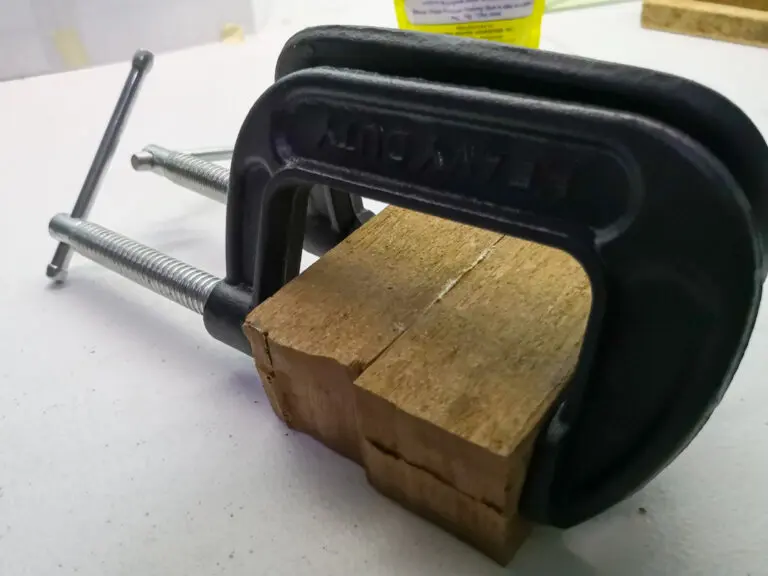
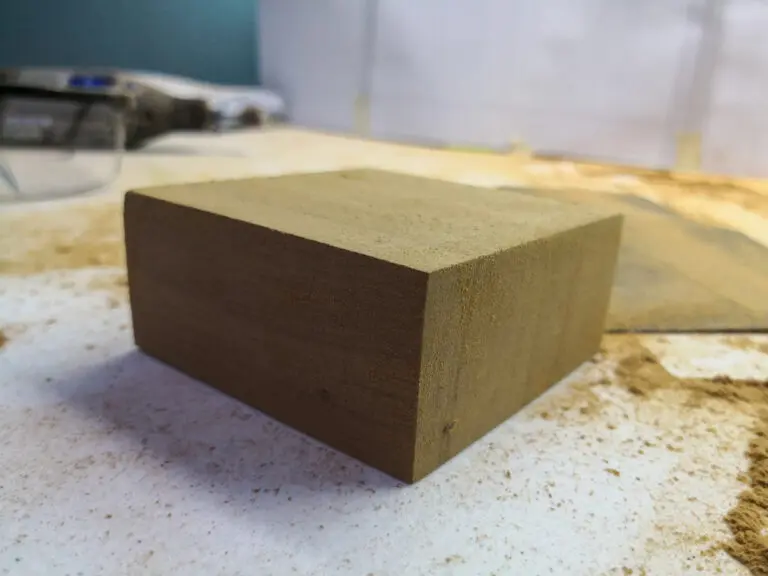
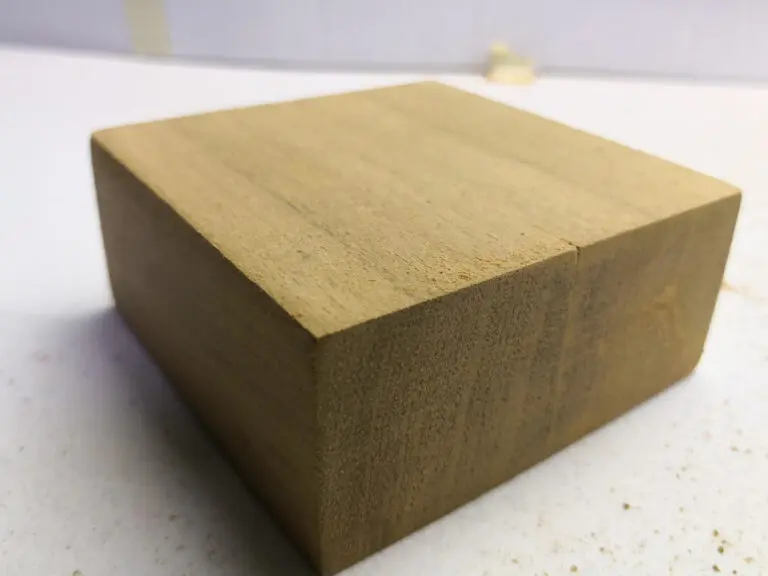
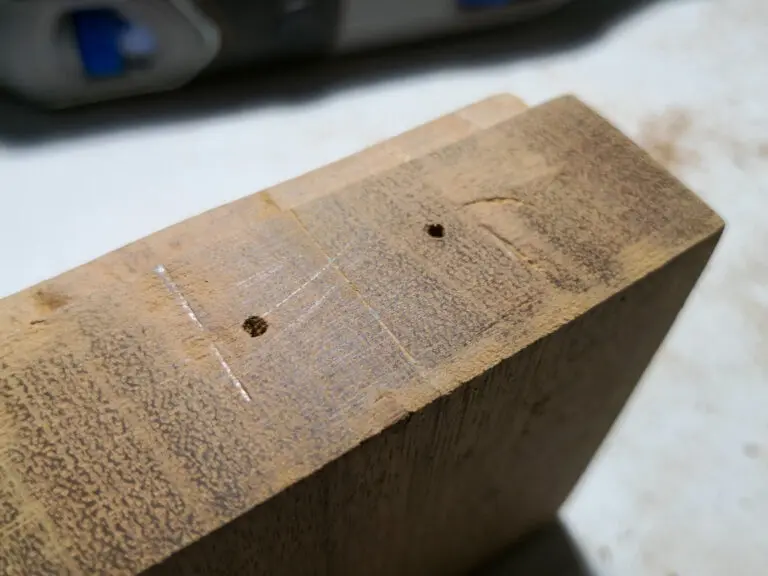
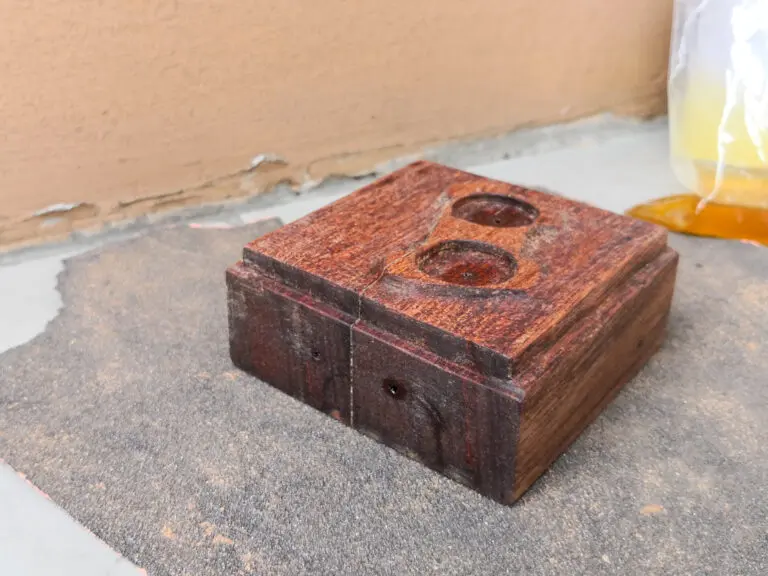
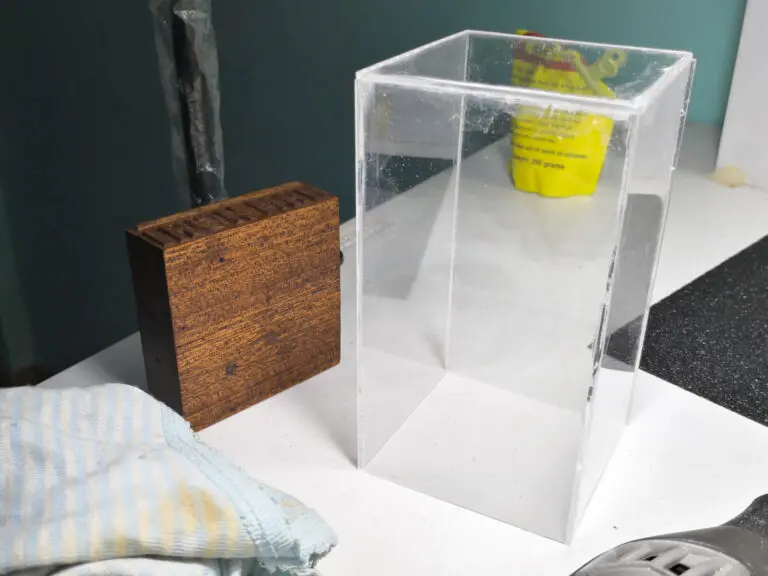
For the base, I started with the only available pieces of scrap wood we had, sanded them up to 200 grit, and glued and clamped them together. I then shaped the block and sanded it up to 400 then to 600 grit.
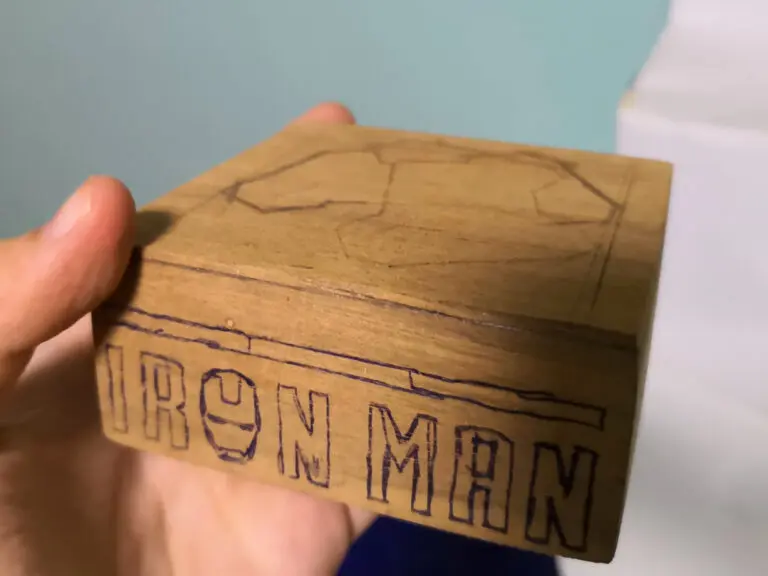
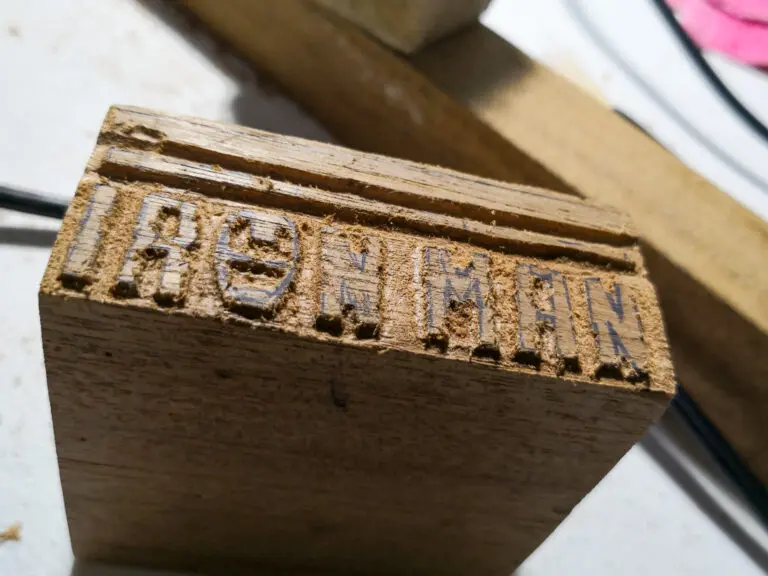
Iron Man marking
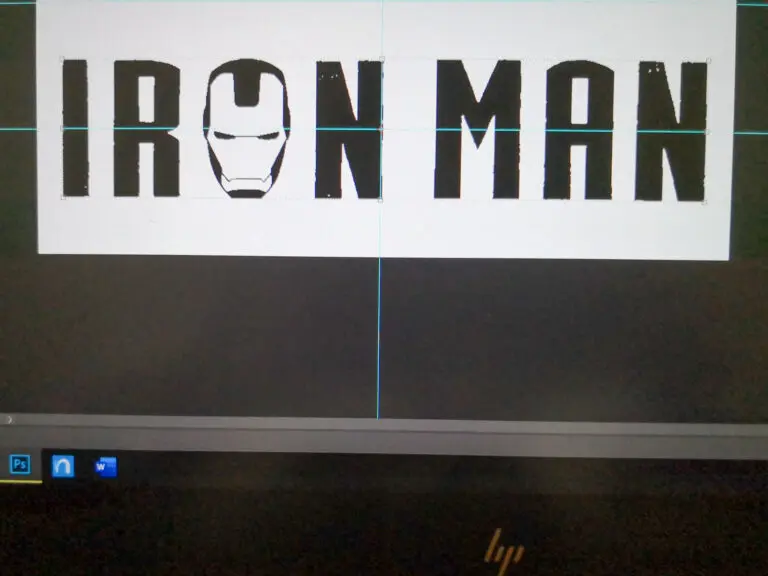
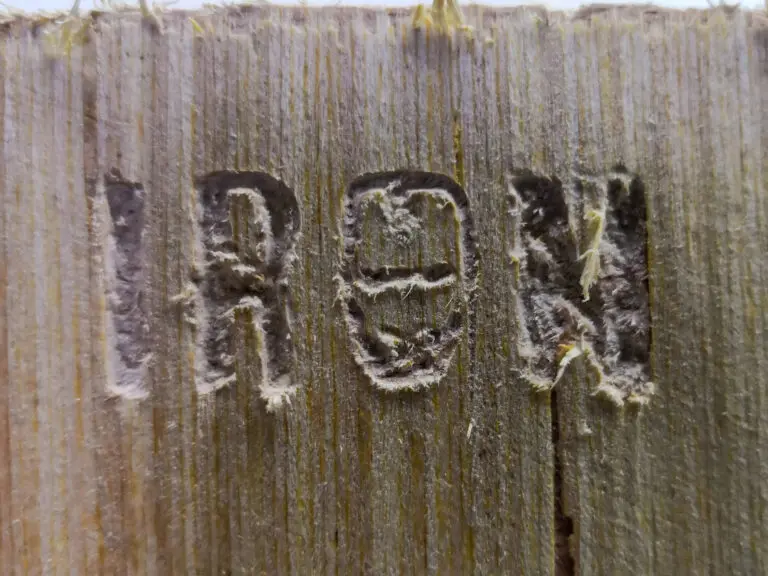
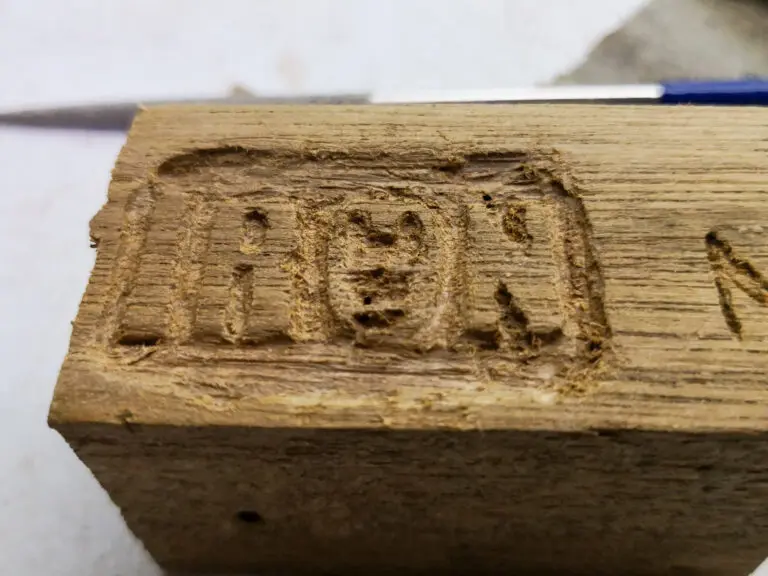
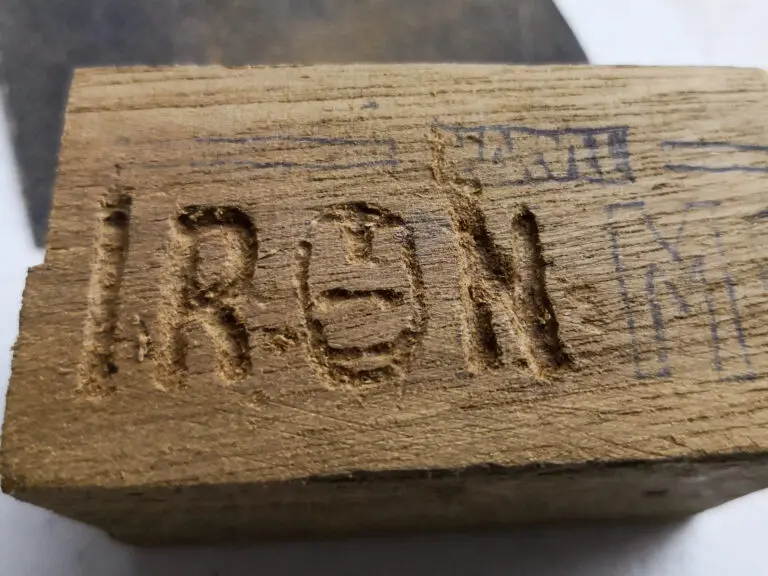
For the marking in front of the base block, I printed a template and traced it on scrap plywood using carbon paper. Since it was my first time carving, I experimented with embossing, engraving, and staining before I decided on plain and embossed. I then etched the entire marking and cleaned it up with small diamond files.
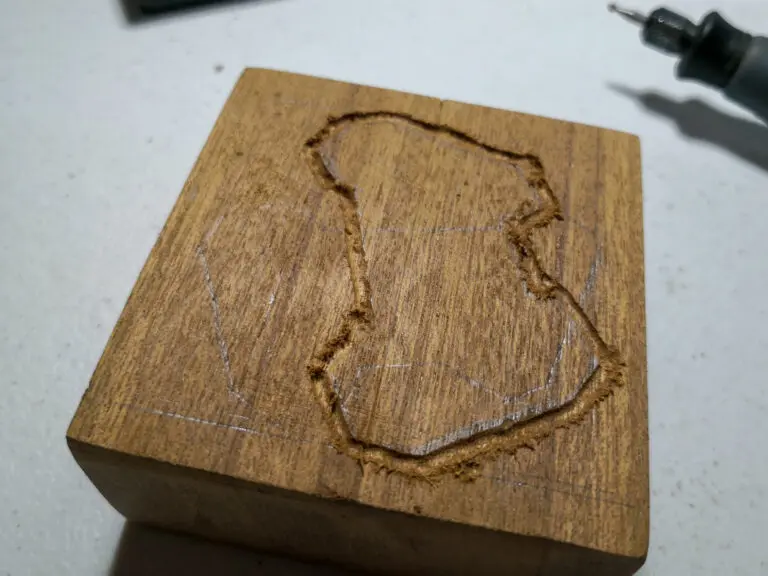
Model mount
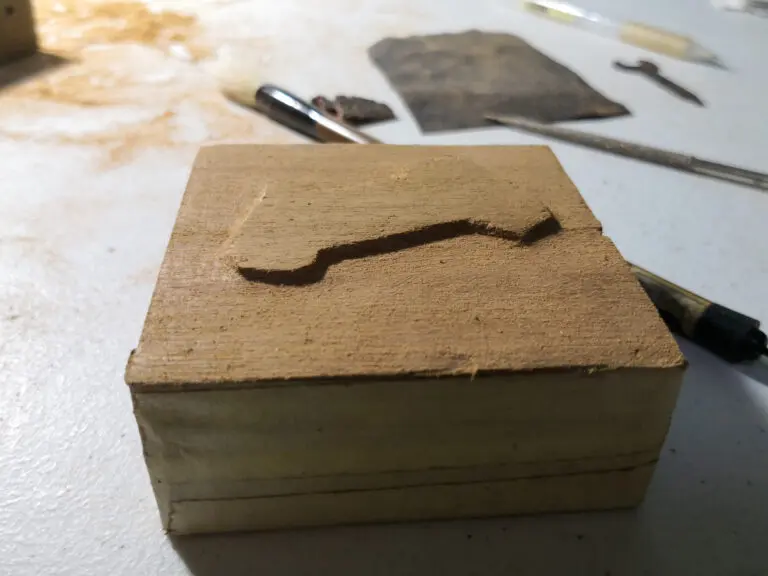
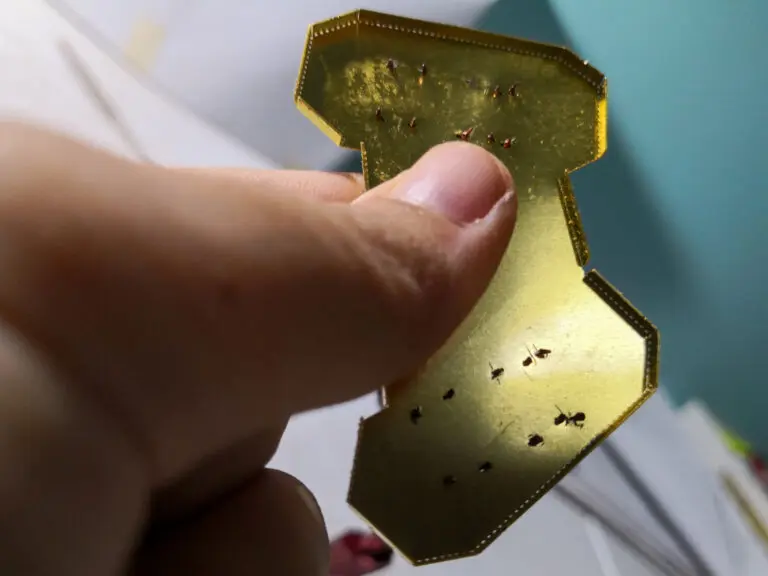
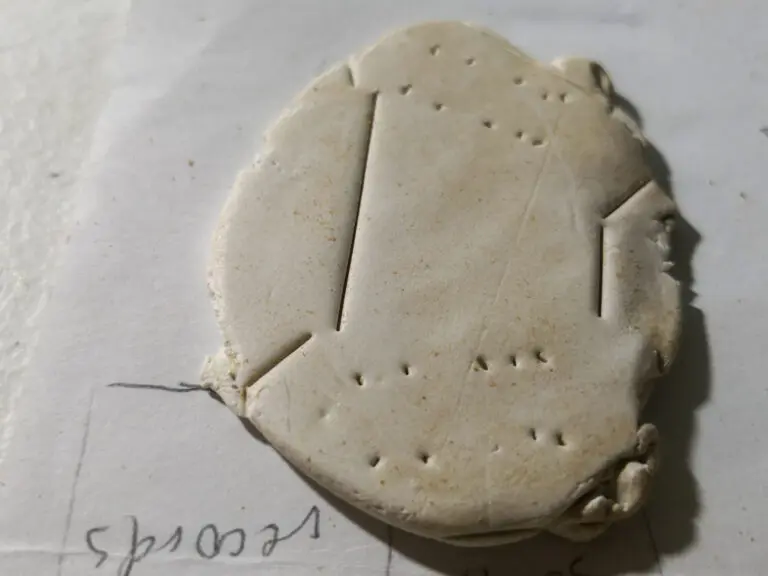
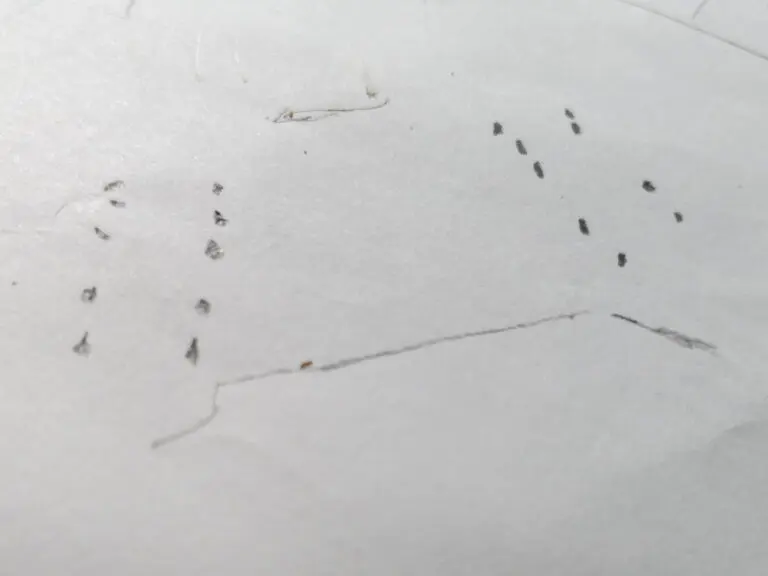
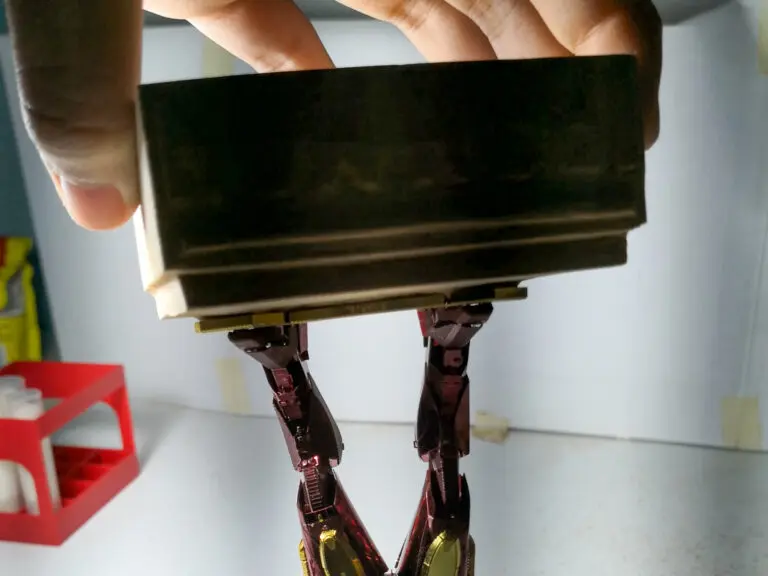
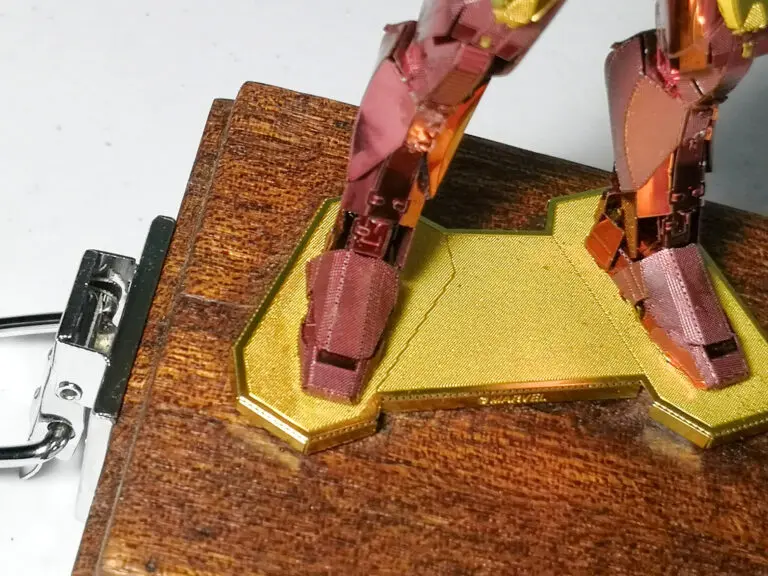
The model came with a little base plate I wanted to align and snap on my base block, so I carved out its outline. I also took the pattern of the metal tabs protruding under the base plate using clay, traced them, and poked holes on the base block to match.
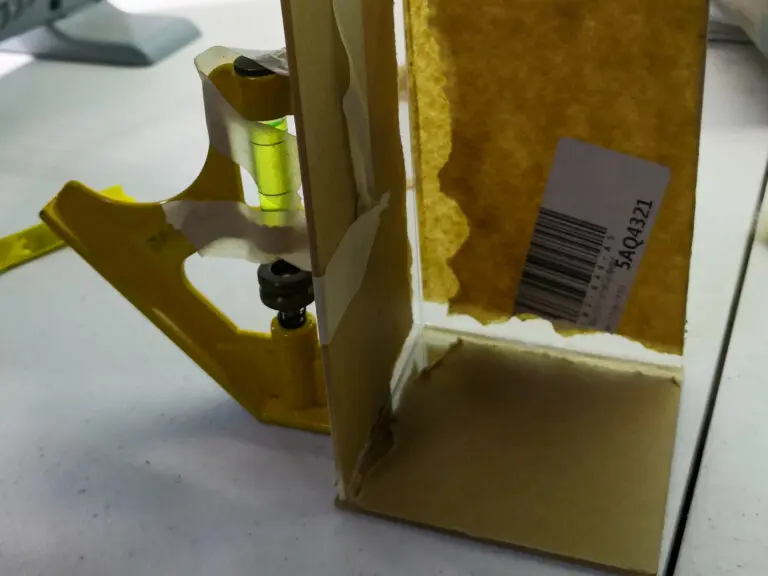
Finishing touches
I routed and sanded the top of the base block to make grooves where the acrylic can sit. I then drilled holes to mount the 20mm neodymium magnets and the latches that held everything together. I finished the base block with coats of linseed oil and polished it with beeswax and linseed oil paste. Lastly, I aligned, glued, and attached the acrylic panels.

